
What Happens During a Solar Installation? Step-by-Step Process Explained
Thinking about switching to solar but not quite sure what actually happens during the installation process? You’re not alone. Many homeowners are curious about how solar power goes from an idea to fully functioning, energy-saving technology on their roof. The good news is that the journey is more straightforward than it seems. Here’s a clear, friendly guide to what happens during a solar installation, from the initial assessment right through to switching the system on.
Step 1: Site Inspection and Solar Assessment
Everything begins with a professional site inspection. A solar consultant or technician visits your property to assess your roof space, shading, structural condition, and orientation. They also evaluate your household’s energy usage to design a system that suits your lifestyle and budget. This stage ensures the system size, layout, and equipment selection will maximise performance and return on investment.
Step 2: System Design and Approval
Next comes the design phase. Using data collected from the assessment, the installer creates a tailored system layout including panel placement, inverter selection, and expected energy output. Once you approve the design, the installer submits applications for any necessary permits, grid approvals, and rebates. This step is essential to ensure compliance with local regulations and eligibility for incentives.
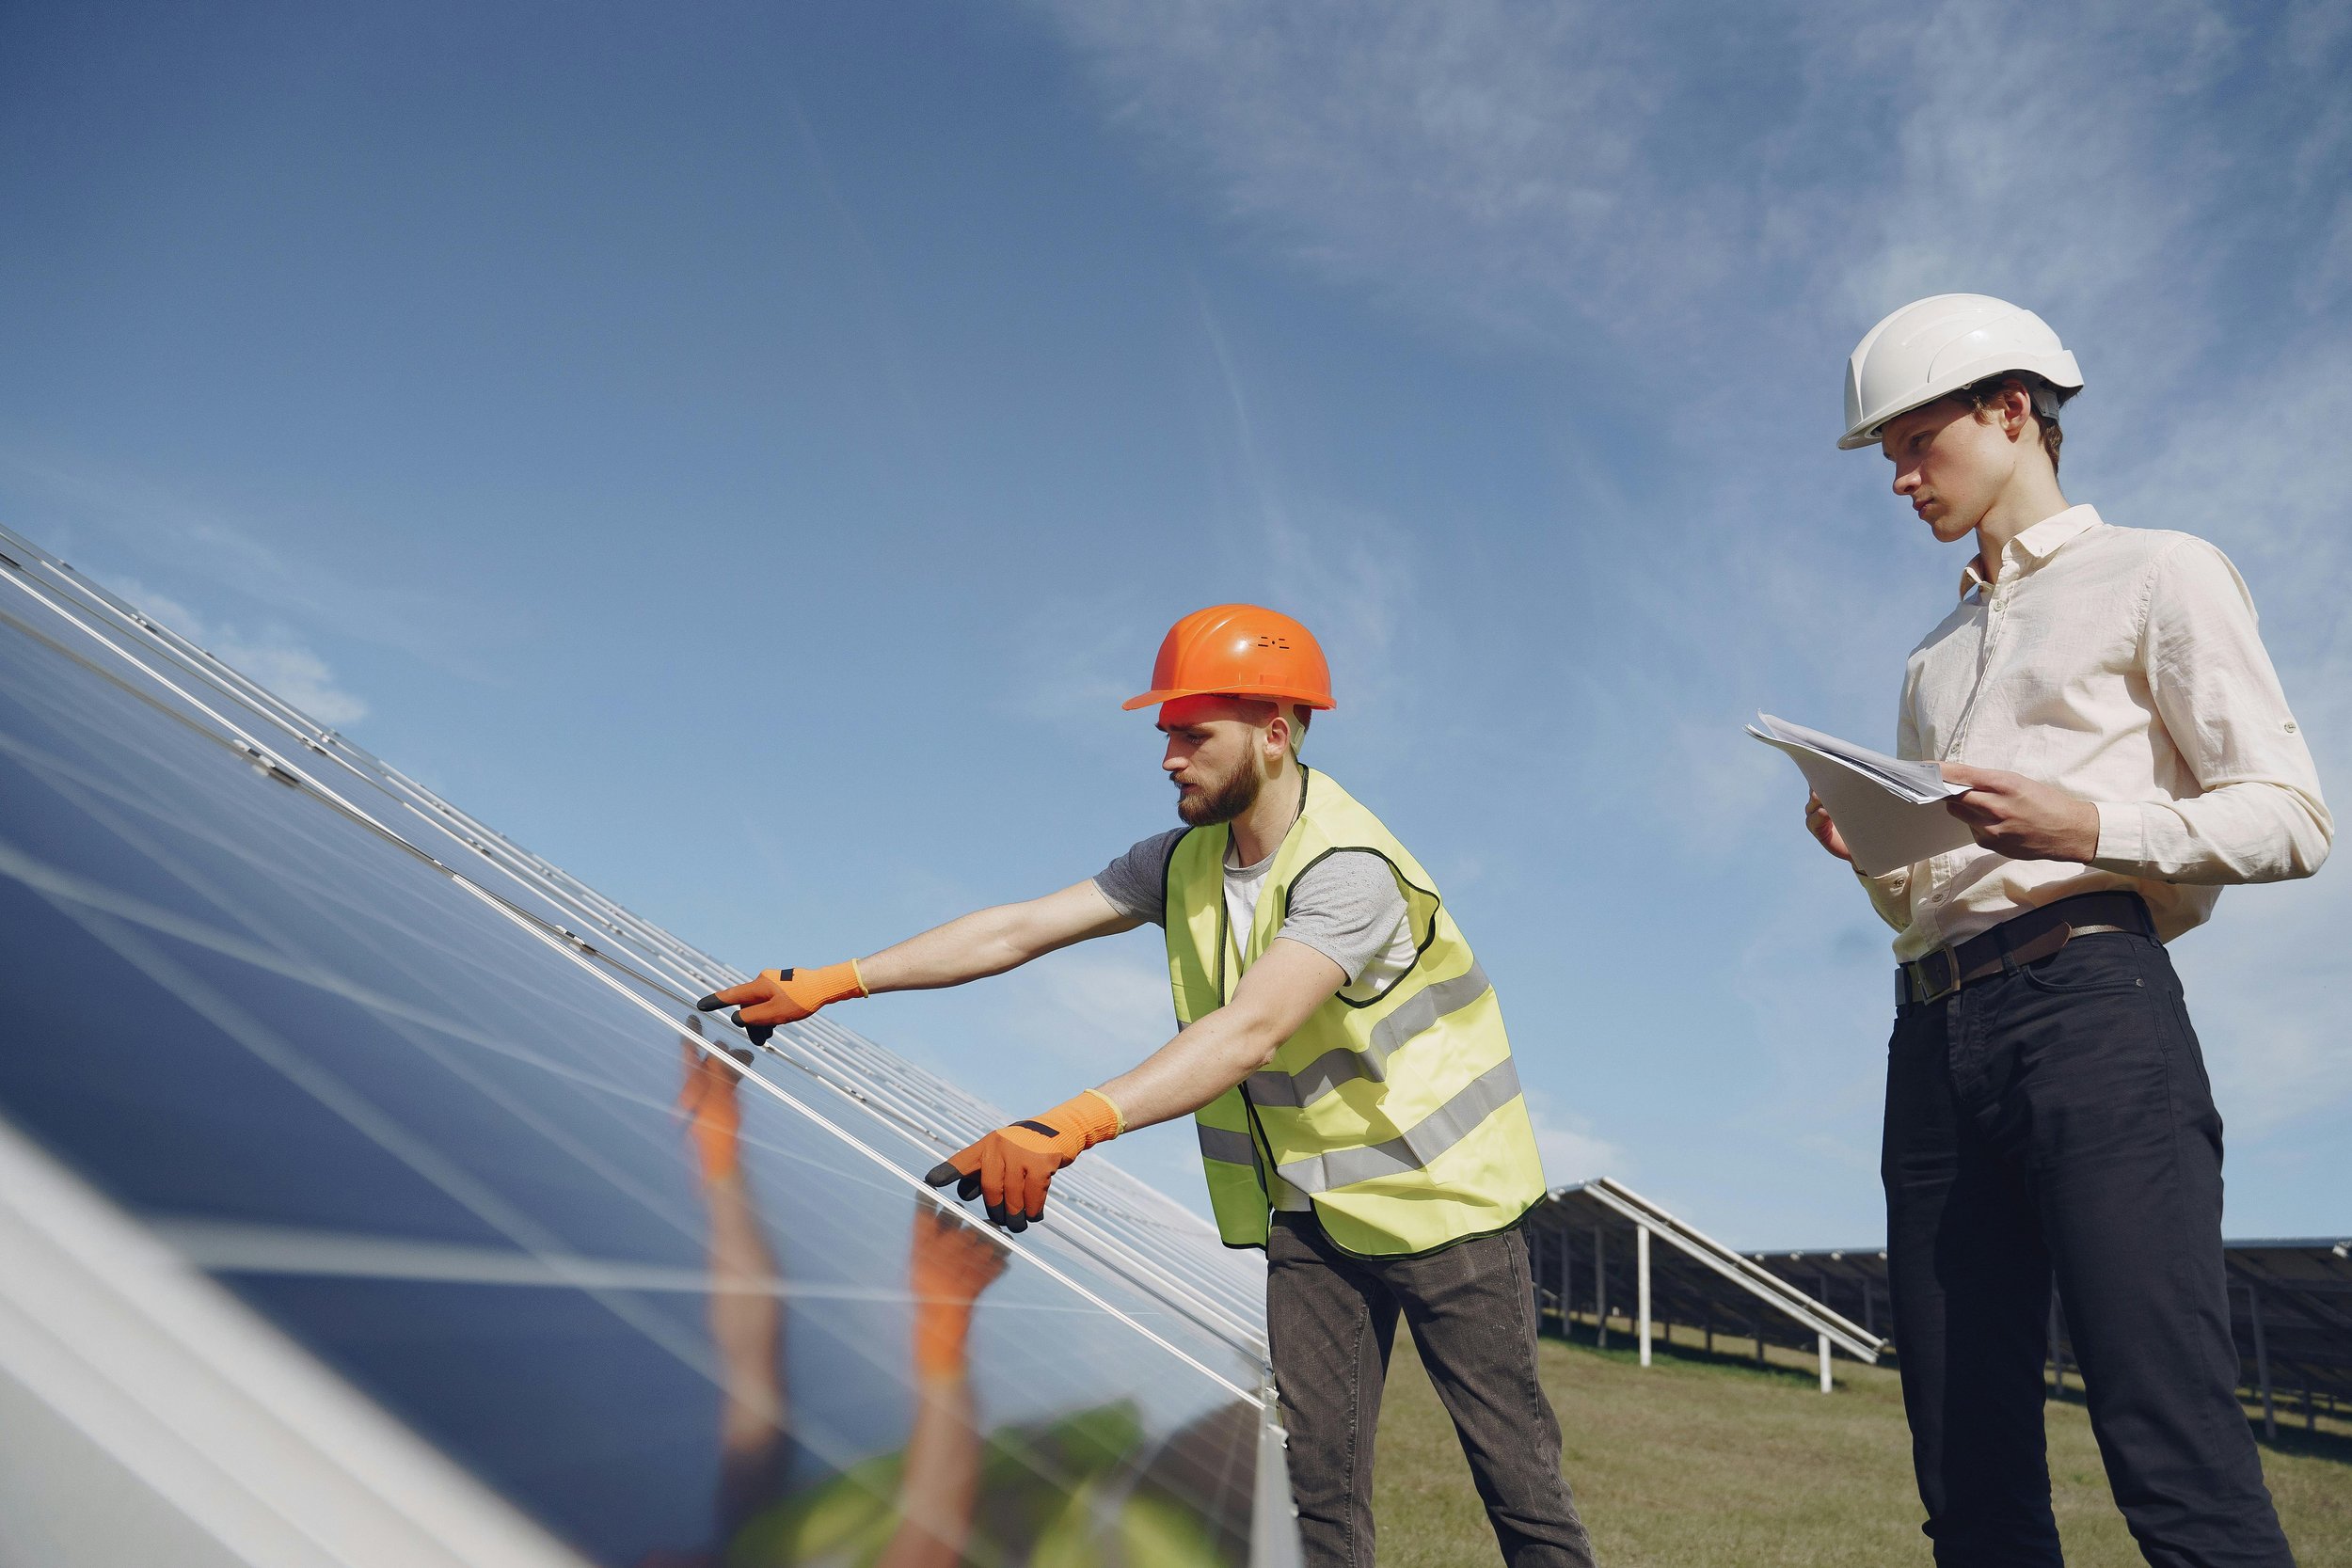
Step 3: Installation Day – Panels and Equipment Go In
This is when things get exciting! On installation day, a qualified team arrives to safely mount the solar panels onto your roof using durable racking systems. They also install the inverter, which converts solar power into usable electricity for your home. Depending on the system, a battery may also be fitted. Most residential installations are completed within one to two days, with minimal disruption to your household.
Step 4: Electrical Wiring and System Integration
Once the hardware is in place, the installers connect the wiring, integrate the inverter, and link the system to your main electrical switchboard. This stage ensures your solar panels can efficiently feed power into your home and, if applicable, export excess energy back to the grid. Safety checks and compliance standards are strictly followed at every step.
Step 5: Inspection, Testing, and Grid Connection
Before your solar system can officially go live, it must pass final inspections from relevant authorities or energy providers. The installer tests the system to confirm it’s operating correctly and safely. Once approved, your home is connected to the grid, and your energy provider may install or configure a smart meter to track your solar usage.
Step 6: Switch-On and Monitoring
Finally, it’s time to turn the system on. Your installer will walk you through how everything works, including how to track performance using monitoring apps or smart systems. From here, you’ll start generating clean, renewable energy and enjoying the savings.
Ready to Start Your Solar Journey?
Understanding the solar installation process removes uncertainty and makes the decision easier. With expert guidance, professional installation, and the right system design, going solar is a seamless experience — and one that delivers long-term financial and environmental benefits.
Get in touch today to start our journey together.
Stay committed!
Damien Frearson